Your Products have been synced, click here to refresh
Your Products have been synced, click here to refresh

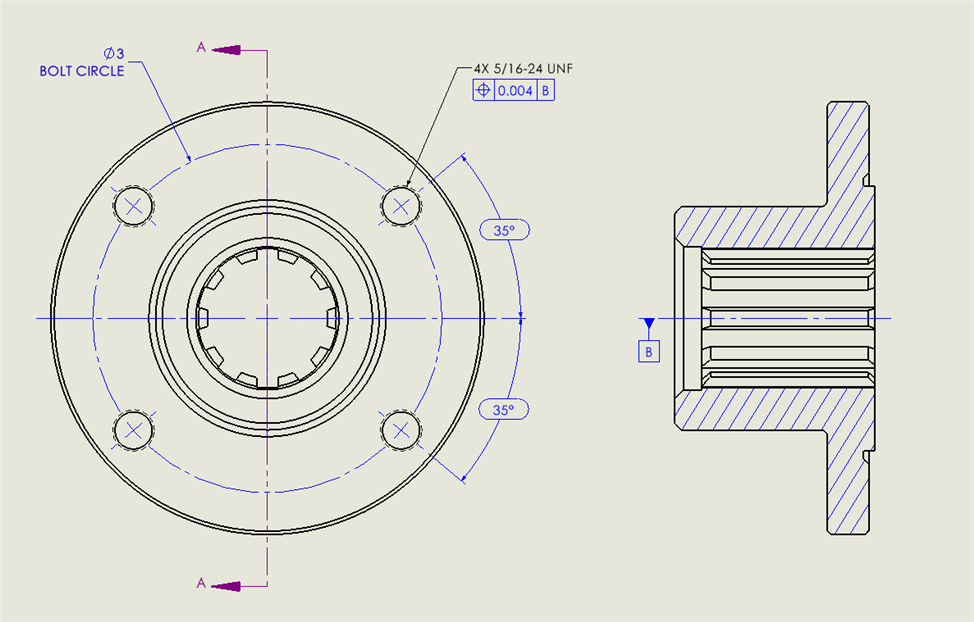
ASSIGN/V1=1/24 CYL1 =FEAT/CONTACT/CYLINDER/DEFAULT,POLAR,IN,LEAST_SQR THEO/<3,35,0>,<0,0,1>,0.267,0.16 ACTL/<3,35,0>,<0,0,1>,0.267,0.16 TARG/<3,35,0>,<0,0,1> START ANG=0,END ANG=360 ANGLE VEC=<1,0,0> DIRECTION=CCW REPORT VEC=<-0.1274052,0.9855405,-0.1117046> SHOW FEATURE PARAMETERS=NO SHOW CONTACT PARAMETERS=YES NUMHITS=7,NUMLEVELS=2,DEPTH=0.05,END OFFSET=0.05,PITCH=V1 SAMPLE METHOD=SAMPLE_HITS SAMPLE HITS=0,SPACER=0 AVOIDANCE MOVE=NO FIND HOLE=DISABLED,ONERROR=NO,READ POS=NO SHOW HITS=YES HIT/BASIC,<3.1103,33.5893,-0.11>,<-1,0,0>,<3.1103,33.5893,-0.11> HIT/BASIC,<3.1283,35.6915,-0.104>,<-0.6234898,-0.7818315,0>,<3.1283,35.6915,-0.104> HIT/BASIC,<3.0528,37.3214,-0.0981>,<0.2225209,-0.9749279,0>,<3.0528,37.3214,-0.0981> HIT/BASIC,<2.937,37.2721,-0.0921>,<0.9009689,-0.4338837,0>,<2.937,37.2721,-0.0921> HIT/BASIC,<2.8683,35.4303,-0.0862>,<0.9009689,0.4338837,0>,<2.8683,35.4303,-0.0862> HIT/BASIC,<2.9024,33.2314,-0.0802>,<0.2225209,0.9749279,0>,<2.9024,33.2314,-0.0802> HIT/BASIC,<3.0113,32.464,-0.0743>,<-0.6234898,0.7818315,0>,<3.0113,32.464,-0.0743> HIT/BASIC,<3.0113,32.464,-0.0143>,<-0.6234898,0.7818315,0>,<3.0113,32.464,-0.0143> HIT/BASIC,<2.9024,33.2314,-0.0202>,<0.2225209,0.9749279,0>,<2.9024,33.2314,-0.0202> HIT/BASIC,<2.8683,35.4303,-0.0262>,<0.9009689,0.4338837,0>,<2.8683,35.4303,-0.0262> HIT/BASIC,<2.937,37.2721,-0.0321>,<0.9009689,-0.4338837,0>,<2.937,37.2721,-0.0321> HIT/BASIC,<3.0528,37.3214,-0.0381>,<0.2225209,-0.9749279,0>,<3.0528,37.3214,-0.0381> HIT/BASIC,<3.1283,35.6915,-0.044>,<-0.6234898,-0.7818315,0>,<3.1283,35.6915,-0.044> HIT/BASIC,<3.1103,33.5893,-0.05>,<-1,0,0>,<3.1103,33.5893,-0.05> ENDMEAS/
| © 2024 Hexagon AB and/or its subsidiaries. | Privacy Policy | Cloud Services Agreement |