So I retired as of last July, but had all this stuff about PC-Dmis Automation which I've finally got around to uploading. Don't know it it is of any interest, but here it is.
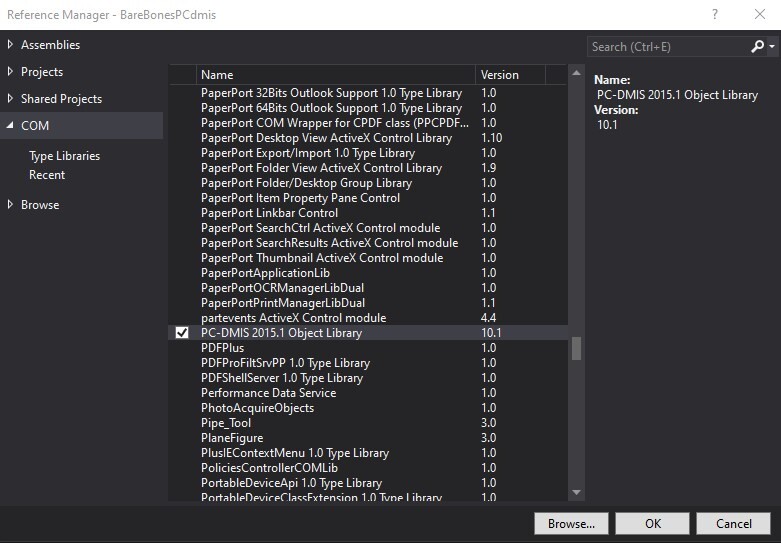
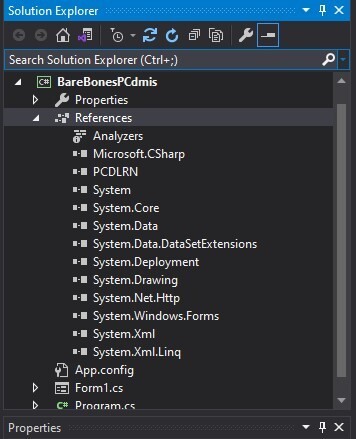
The zip file has to Visual Studio project folders, both written in C#. One folder is a Class Library which has all the code for connecting with and dynamically interacting with PC-Dmis. The second folder is a C# application with uses the Class Library to connect and interact with PC-Dmis.
I also included two documents one explains how to setup the two Projects the other is about the application program.
Rather than trying to anticipate every possible question, the provided documents should be sufficient for someone familiar with visual studio and C#. Otherwise, I'll watch for questions to show up here. I can't promise to answer every question, given the complexity of what the answer might require. But I have taken phone calls and zoom opens up the possibility to demo live.
Good Luck
https://drive.google.com/drive/folders/1EDMe0GvN6TC_0Fcr_7Zt7_UqH-EV_8o2?usp=sharing