hexagon logo

PC DMIS Cone position

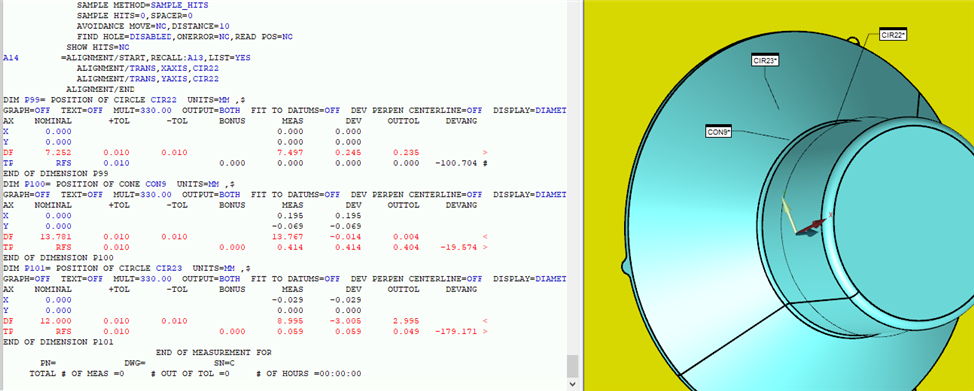
Can someone explain how PCDMIS gets CONE position values.


I have CONE with 3 levels, all 3 levels (circle0-->2), have different positions values to actual CONE. This is understandable, since its probably looking at AXIS of cone.
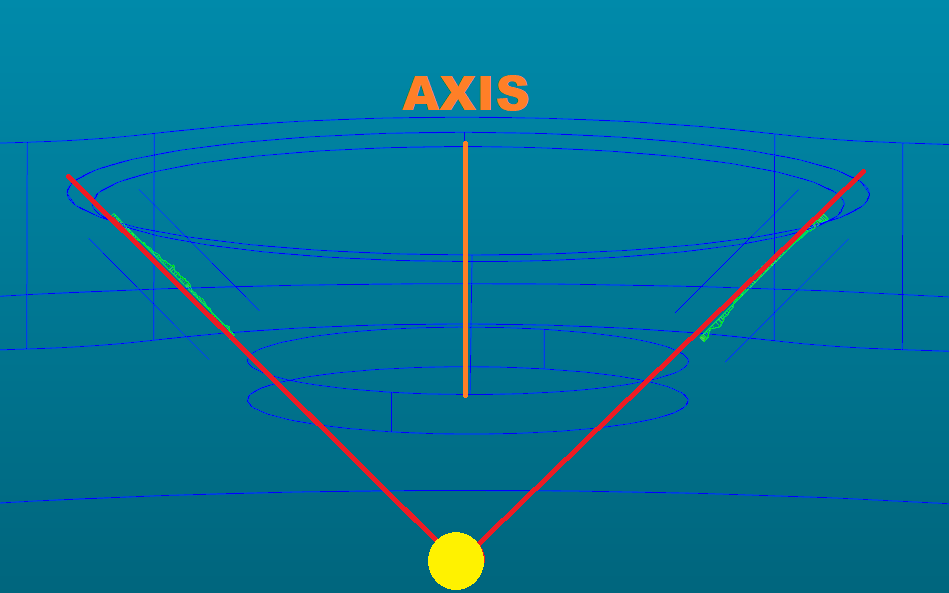


Where in picture above would position of this particular cone be? Also choosing axis average, worst, etc options does not change position values at all.
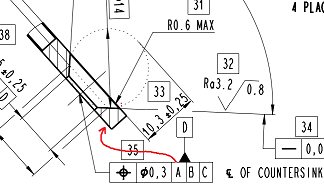


We have instances where position of cone varies by quite alot between measured raw part and finished part. The only difference between raw and finished part is that finished part is grounded to have smooth finish and this also reduces part thickness (so the cone is also cca 20%ish smaller).

Cone position is constrained by datums:
A (bottom plane which is grounded down to have smooth finished, raw part has quite uneven surface)
B (outside diameter, does not change at all)
C (one of the cones on part)
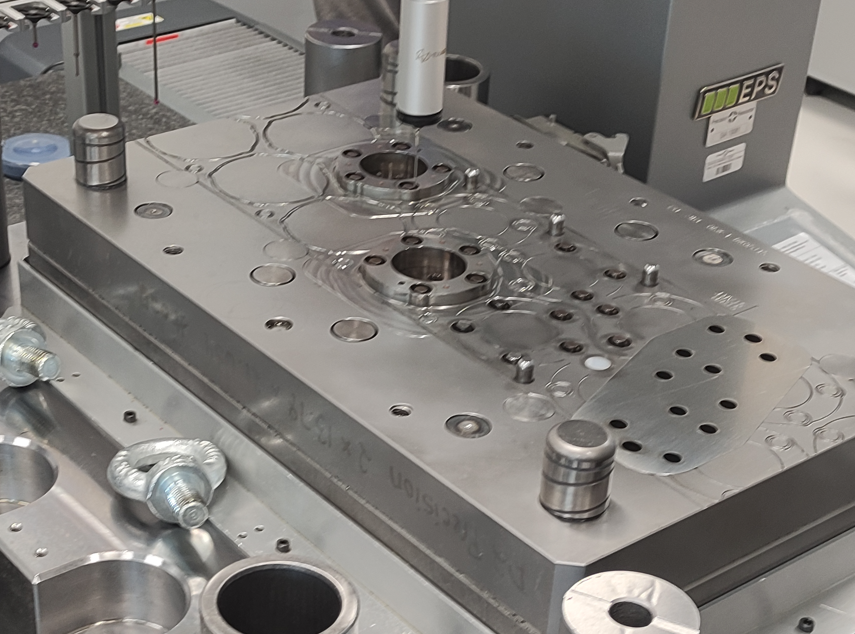


I also measured the tool itself. There are coining punches that make that cone and when I measure position of holes or center of coining punches, all positions look OK within microns. Problem comes when I directly measure position of CONE of those punches. Deviation comes to 0.3mm+.


Thanks in advance for any information you have.


Parents
  • I always use touching strategy, as i dont like to calculate correct heights in SCAN strategy.

    I never tried more than 3 levels, tbh.

    Results on assembled tool. Cone position is alot more out than simple circle made on the cone. This isnt the case if I measure just coining punch itself, all 3 are within 0.01mm. The only difference is how Z origin/level are placed. I know and tested it that level does play role in cone position, I would just never assume its this much, especially on tool.


    Thanks for all the information.
Reply
  • I always use touching strategy, as i dont like to calculate correct heights in SCAN strategy.

    I never tried more than 3 levels, tbh.

    Results on assembled tool. Cone position is alot more out than simple circle made on the cone. This isnt the case if I measure just coining punch itself, all 3 are within 0.01mm. The only difference is how Z origin/level are placed. I know and tested it that level does play role in cone position, I would just never assume its this much, especially on tool.


    Thanks for all the information.
Children
No Data