hexagon logo

Circular Runout on a Sphere

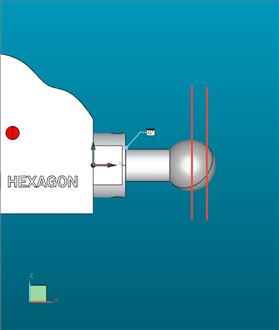
I was recently shown a drawing that called for Total Runout of a section of a sphere. Since this is not possible per the Standard, I recommended Circular Runout instead. However, I found out that PC-DMIS does not allow spheres for this control.

When I use a cone as an input feature, PC-DMIS allows it but doesn’t allow circles constructed ON the cone.

I read in the Help files that only circles with “surface data” can be considered as valid circle features for Circular Runout: an example of this would be a circle constructed on a Cylinder, but not a Cone or Sphere.

So, I have 2 questions:
  1. Is Hexagon considering support for using a Sphere feature for Circular Runout?
  2. What would be the best workaround for evaluating Circular Runout on a specific section of a Cone (or Sphere). Ideally, I’d be looking for multiple results for cross sections of my choosing.

neil.challinor
Parents
  • If you are planning to measure a series of circles on the sphere you should take into consideration the positioning accuracy of the CMM and the diameter of the sphere. A good test would be to measure a cross section of a known sphere (the calibration sphere for example) and see what kind of errors you get for position and form from various circle cross section measurements.

    On solution I seen for this problem involves a bit of trickery to solve potential machine positioning errors. The idea is to use the radius, azimuth, and elevation from the actual measured points and adjust the measured points so they are sitting on the plane of the circle (the idea is to rotate the measured point up or down so it is ends up on the plane of the circle). This is a VB solution and not something you can practically do inside PC-DMIS.

    Some machines position quite well where others (basically anything with a SH32 controller) position very poorly. You might get away with it on something like a newer Global but if the target machine is an older Xcel you will have problems. The sphere test should help highlight potential errors on whatever machine you are planning to run your program on.
Reply
  • If you are planning to measure a series of circles on the sphere you should take into consideration the positioning accuracy of the CMM and the diameter of the sphere. A good test would be to measure a cross section of a known sphere (the calibration sphere for example) and see what kind of errors you get for position and form from various circle cross section measurements.

    On solution I seen for this problem involves a bit of trickery to solve potential machine positioning errors. The idea is to use the radius, azimuth, and elevation from the actual measured points and adjust the measured points so they are sitting on the plane of the circle (the idea is to rotate the measured point up or down so it is ends up on the plane of the circle). This is a VB solution and not something you can practically do inside PC-DMIS.

    Some machines position quite well where others (basically anything with a SH32 controller) position very poorly. You might get away with it on something like a newer Global but if the target machine is an older Xcel you will have problems. The sphere test should help highlight potential errors on whatever machine you are planning to run your program on.
Children