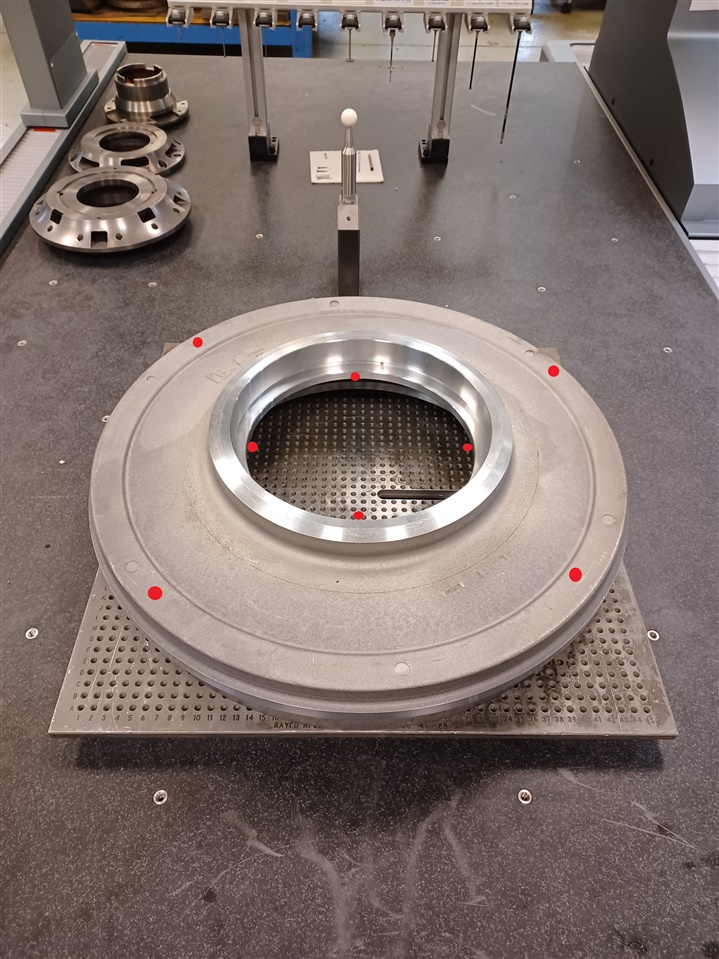
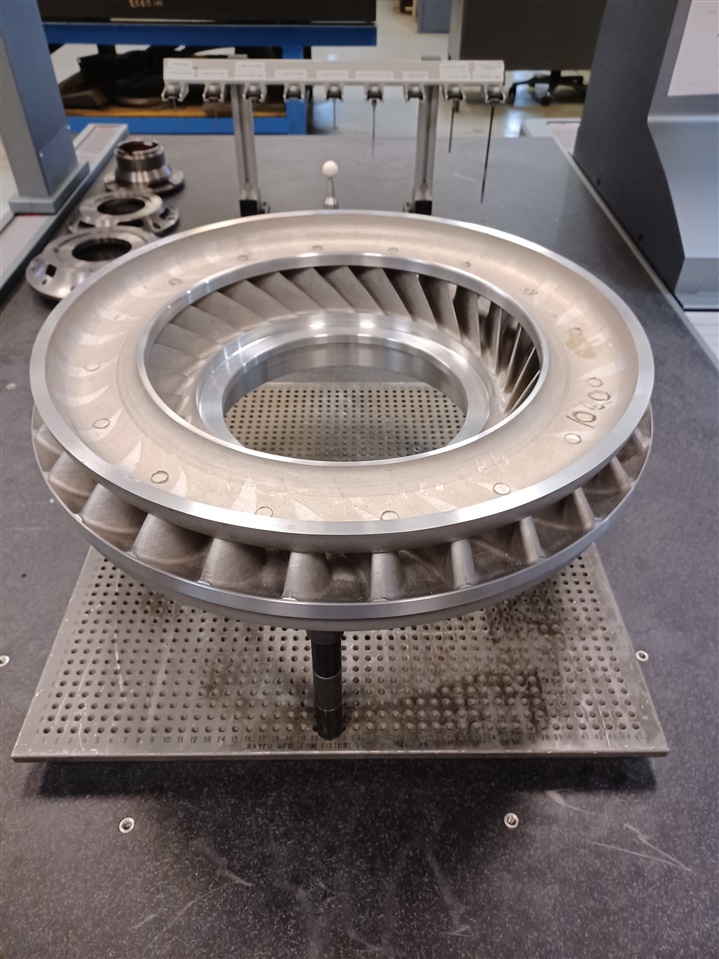
So I have a large heavy aluminum impeller with a bore in the center that's too small for the probe to fit in and measure underneath in the horizonal position, and I need to be able to probe both sides of the part. I did an equate alignment after measuring one side and flipping it over. As far as I can see, I did it correctly because the distance between two surfaces, one on each side measured in two different orientations, is reporting ok. But the parallelism of one surface to the other is not measuring ok. Is it possible the equate alignment has anything to do with that? It's measuring 0.343mm, but it needs to be below 0.05mm. The machinists are not convinced that it's actually that far out of tolerance.
Your Products have been synced, click here to refresh


