hexagon logo

Bizarre readings in PC-DMIS

Bizarre behavior.  Absolute arm, calibrates fine, length checks, stylus diameter/STDev all fine within RDS software, regardless of length standard or arm orientation (10-20µm at worst).

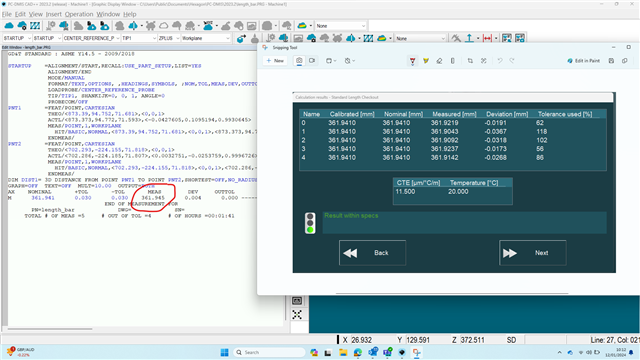
In PC-DMIS, same arm, same stylus (or master stylus, for that matter), same length standard, length standard reads several millimeters off (3d distance), and is wildly inconsistent.  The readings from PC-DMIS probe readouts window were also noted as each hit was taken, and manual calculation confirms bizarre length readings.  It's as if PC-PMIS is not interfacing with arm's scales correctly.  Once again, RDS software reads fine.

Is there anything we can do short of software re-installation?

Parents
  • You need to set your alignment correctly.  If your using 3d to measure then whatever your measuring better not move and the way you take point will be very important.  3d just takes into consideration alot of factors. Instead...

    I would just set an alignment on the length bar provided.  Table surface z, 2 point for a Line on the side of the length bar for y rotation and a point for x origin.   Probe the features on the length bar and measure distance, select distance in y 

Reply
  • You need to set your alignment correctly.  If your using 3d to measure then whatever your measuring better not move and the way you take point will be very important.  3d just takes into consideration alot of factors. Instead...

    I would just set an alignment on the length bar provided.  Table surface z, 2 point for a Line on the side of the length bar for y rotation and a point for x origin.   Probe the features on the length bar and measure distance, select distance in y 

Children