hexagon logo

Trying to build a disk probe with rollers

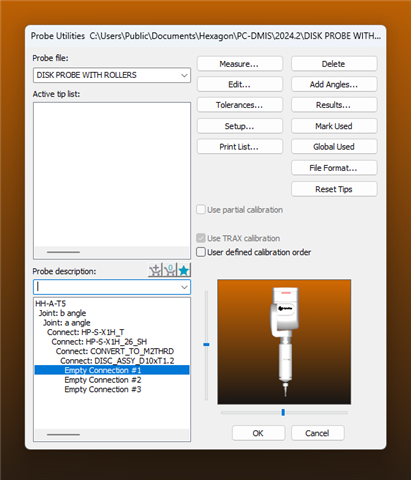
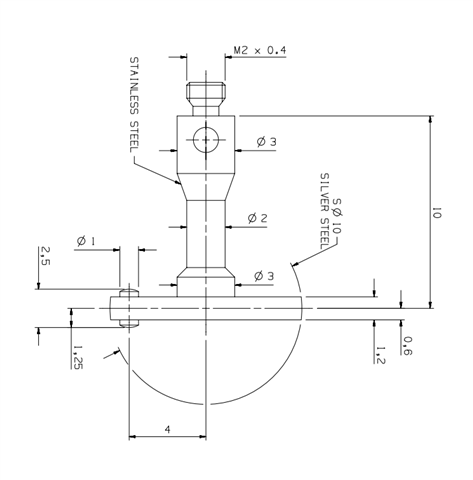
I'm not sure of the proper way to build a disk probe so that I'm able to use the rollers to measure groove width. I was told to add some offset point to the routine but that's not working. There has to be a way to build the probe so that the rollers are on there right? ive never built a probe from scratch so I may be lost in the procedure or even the capabilities. I have included a dwg of the disk to help. 
Parents Reply
  • Ha ha. The only people that think I am a celebrity is my kids as I feature in a Youtube video for one of the products my work sells.

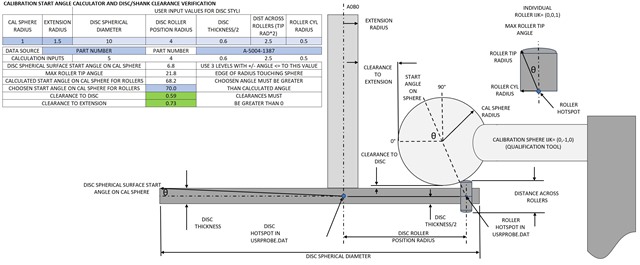
    If you re-download the excel file Disc_Probe_Calibration.xlsx  I have added a few missing discs like the one you are trying to use. I have saved it with the 10mm disc data input. I work out that you need a 2mm tip to act as your calibration sphere so that you don't hit the shank of the disc probe.

    If you let me know which version of PC-DMIS you are using, the head/sensor type etc, I can make you a sample probe for your probe build up.

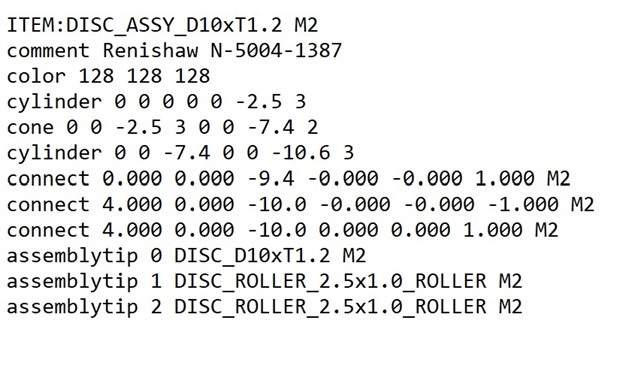
     That 10mm disc is in my sample usrprobe.dat file.

Children