hexagon logo

cribbage players

Any cribbage players on this site?  Just over a year ago I bought a CNC router mill for my upcoming retirement (to keep busy & hopefully make a little cash)

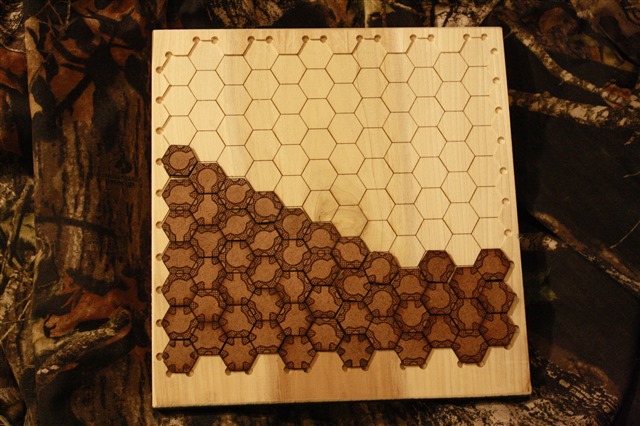
I have about 200 cribbage boards I have designed over the years and now I can make them much nicer and much more easily than hand drilling 240-480 holes

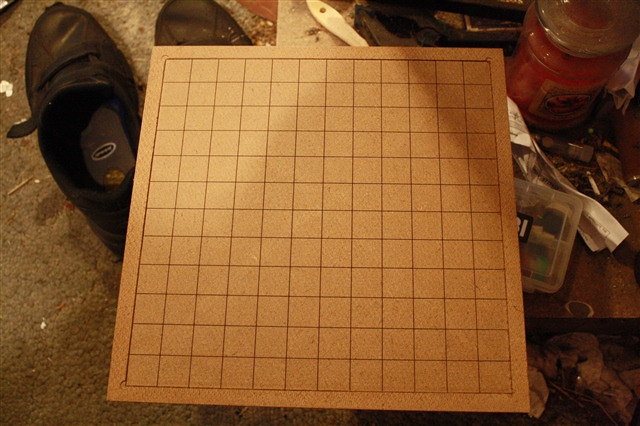
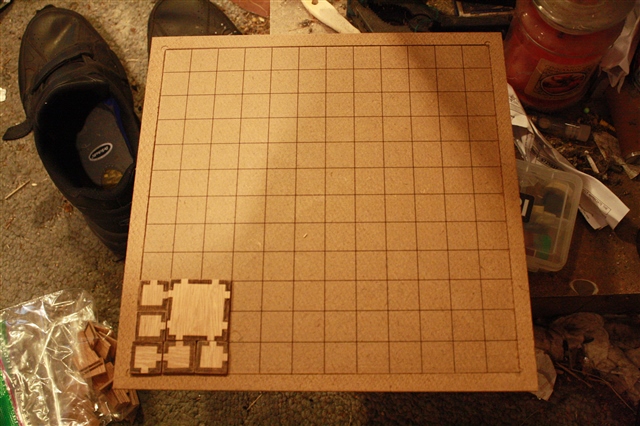
Since I have had the machine I have also designed up (and made) quite a few other things.  I really like the 3D 'carving' capabilities of this thing.

this is the machine I bought, along with a 3hp spindle, and a few of the other accessories.

nextwavecnc.com/.../

Parents Reply Children
  • thanks for the info.  I have designs for both ways.  the 1" across the points would make a smaller board, more hexes (obviously), but for just a mapping board would probably work, then do 1" across the flats for the play board, which would only be laser etching, no tiles.

  • had an interesting thought last night....

    IF I use that 2.7mm thick plywood to cut out the individual tiles, the SCRAP can be glued ON TOP of a piece of 1/2" MDF to make the boundaries, then no need to mill the MDF.  Put the MDF on the machine, put the plywood on top, then laser etch the paths on the plywood, then laser cut out the tiles, but going an extra pass deep and it will etch the hexes on the MDF at the same time.  You then have a white surface surrounding the map field, you have a dark un-mapped map field until you place the white tile on the board.

  • Thats pretty clever. Post some pics after you try it out. 

  • gotta find the time!  busy this weekend with family stuff, and I have to drive to my wood source (about 45 minutes each way!).  Soon though, I do have some vacation coming up, the week of Memorial Day.  I'll have to time the process as I charge by time & material.  I round material up, $7.50/foot for 1x12, I round up to $10, then I charge $10 machine time.  So, if it takes 4 hours, that's $40 then add in the cost of the wood.  For a 24x24 board that would be $5 for the plywood plus the MDF.  With no milling on the MDF could go down to 1/4" instead of 1/2" so, $10 for that.  So, materials would be $15, so the time factor would be the biggest cost.  Could put it on hardboard instead for a little cheaper and might even hold up better.  lots of things to look at!

  • going to my buddies house on Sunday, his daughter will be there as well as a few other RPG players.  Going to take that small 12x12 trial I made and we'll see how well it plays.  not sure if it will be used Sunday, but between the two of them one or the other has a game every couple weeks.  if they like it, then the next step will be to make the full size board and see if the local game shop will offer it up for sale, or let me put a flyer in the store, or something.

  • Yeah, yeah, yeah, I've currently got about two dozen designs for this (maybe more!).  They looked at the 12x12 hex setup I made, mostly liked it, gave some feedback, so, re-working / re-designing had to happen.  Back in the day, everything was hexes.  neither of them use hexes anymore, just squares (I like the hexes better, but I'm not running the game!).  Designs are done in a couple different ways and sizes.  Last weekend I resurfaced the spoil boards (worst job because MDF cuts like chalk, dust EVERYWHERE even with the dust boot & shop-vac running) and added 2 boards to mostly cover the entire machine bed so that I have a nice, level playing field for 24x48 inch sheets.  I tried with my (small 7W) laser to burn out some tiles, fail, too much burn, not enough cut, so that required a re-design of all of them to change to milling out the tiles.  I bought a full sheet of 2.7mm plywood and have it cut into 24x48 sheets to fit the machine.  I have a couple 24x48 sheet of hardboard for the bottom.  I've thought about getting rolls of stick-on magnet that you cut to size, stick them on the back of the tiles, then they can use a magnetic whiteboard for the build surface.  Yeah, still working on "perfect" but just maybe doing some tiles Saturday to take to a game on Sunday.  Mostly, I don't want to do a 'big' project until all the annoying little bugs are worked out.

  • OK, so, I have a 12x12 design (12 squares in 11", 1/2" per side boarder).  I burned then cut out all the tiles.  The only thing I had available for the base plate was 1/8" hard board.  Yeah, too thin, not the best, but this is a trial board.  very shallow pocket in the hardboard and laser lines every (11/12) inches.  In addition to the small 1-sq tiles, I also made some that fit 2x2 squares (see below)

    base board:

    with some tiles:

    it will work much better with a thicker base board.  Also, the laser lines are slightly off in the base board, had an issue with the fan in the laser, had to take the column mount off, now I need to calculate the laser offset again.