Creation of test platform of Q-DAS WEB.
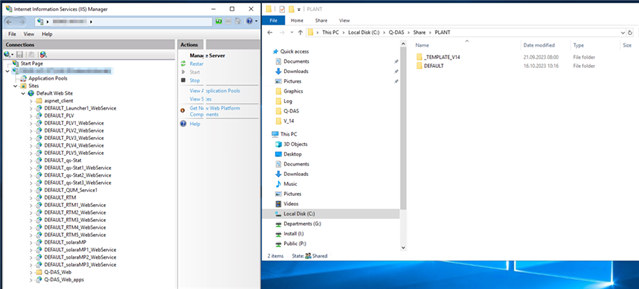
When you install the WEB products of Q-DAS, you are by default creating different Web Sites in the IIS using the Default plant. The default plant usually is your main running system, also for the classical desktop products. After the installation, it might look like this in the IIS and in the Q-DAS folder on the C drive:
After some time, you might need a test environment for the WEB next to the main installation. That is easily done by creating new “plant”. The word “plant” here is just a naming convention we use in the software, but in reality it can be just a test platform.
To create new plant, you have to download “Create_New_Plant_V14.exe” file and place it in the *Name_of_your_server*/Q-DAS/Share/ClientSetup/V14.
This exe file is not part of the standard delivery. Ask our support team for delivery of this file.

Run the exe file from this location directly on the server.
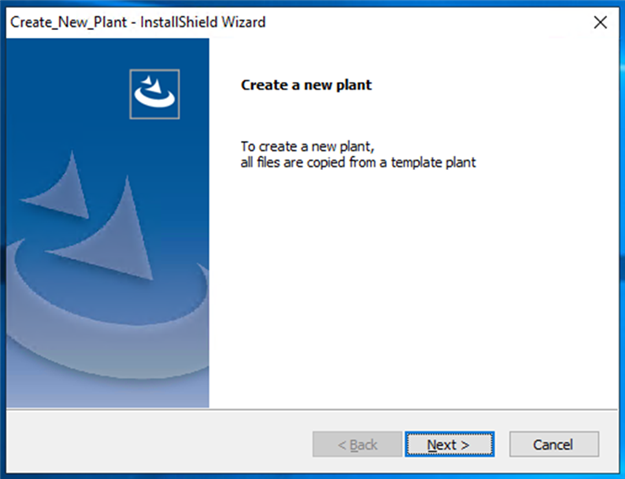
A wizard will be started and guide you through the process:
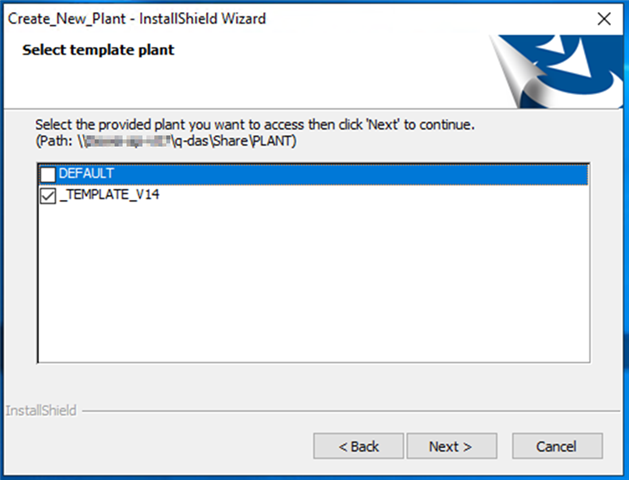
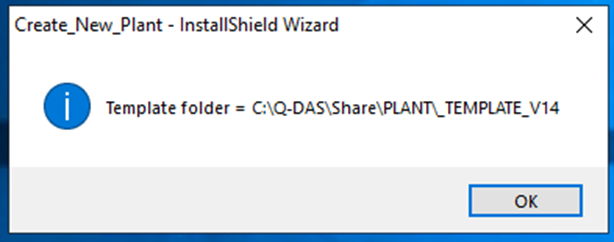
The “template” plant must be chosen. Depending on what settings you ultimately need.
If you want a clean installation of the test platform, select “_TEMPLATE_V14” plant where everything is in default state, unless you made some changes to it in the past. In such case, the definition of database connections must be made.
If you want 1-to-1 copy of your Default plant, with all its settings and database connections, choose “Default” plant as your template.
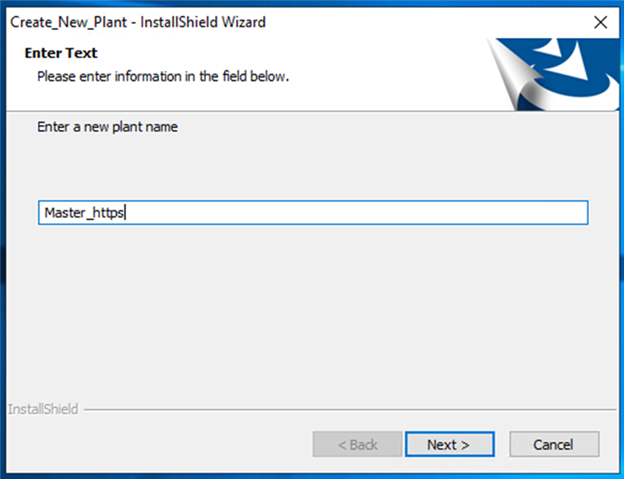
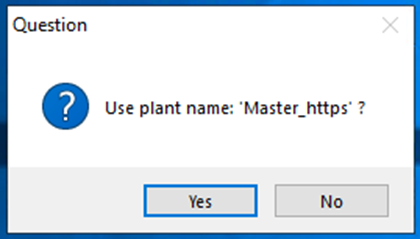
Give a sensible name to the new plant. In our case, we wanted to create a testing environment for https running WEB.
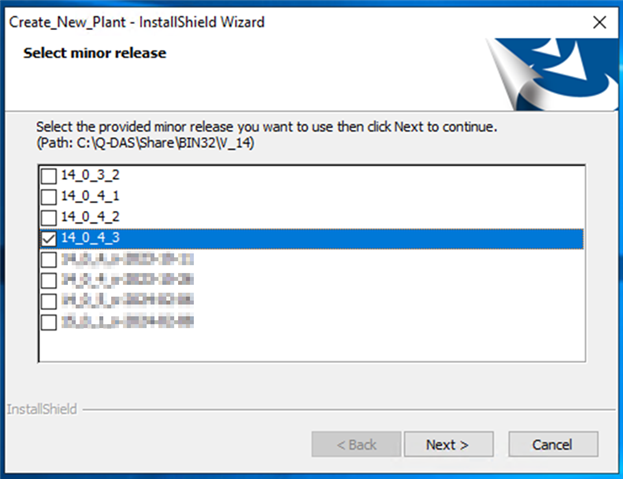
Select a version to be used.
Creation of new plant can start with clicking on next.
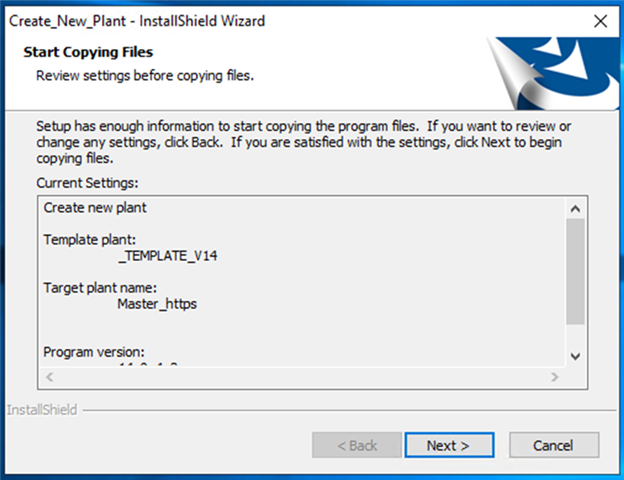

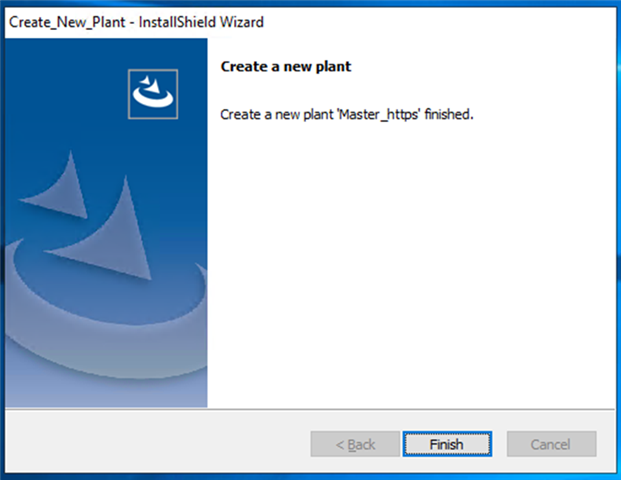
After new plant is successfully created, you can see it in the *Name_of_your_server*/Q-DAS/Share/Plant folder.

Repeat the steps if more plants are needed.
The new plant is created in the basic Q-DAS installation structure. But new plants ware not installed as WEB and therefore, are not visible in the IIS.
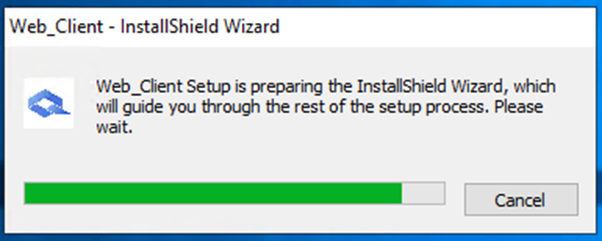
In order to do so, start the “Web_Client.exe” from *Name_of_your_server*/Q-DAS/Share/ClientSetup/V14.

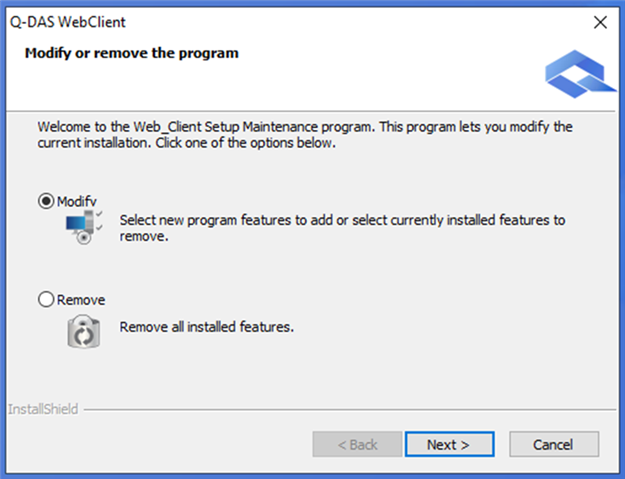
You want to just modify your installation.
Select the plants that should be installed as WEB and keep selected already installed one. If you unselect already installed plant, it will be removed from IIS by the setup.
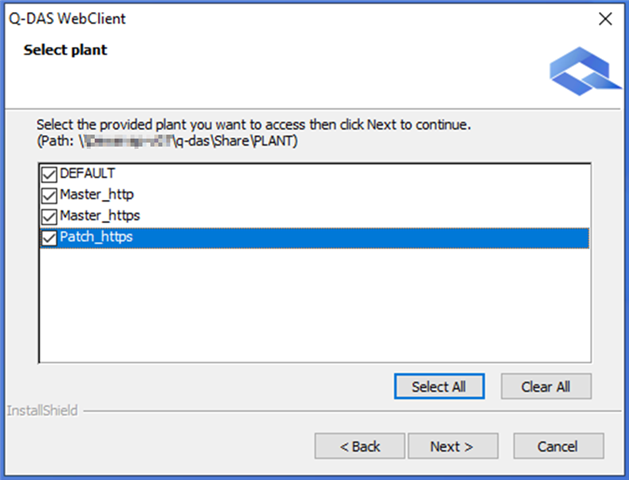
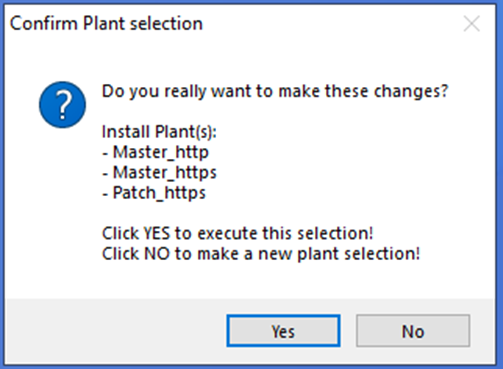
Confirm the changes you want to make.
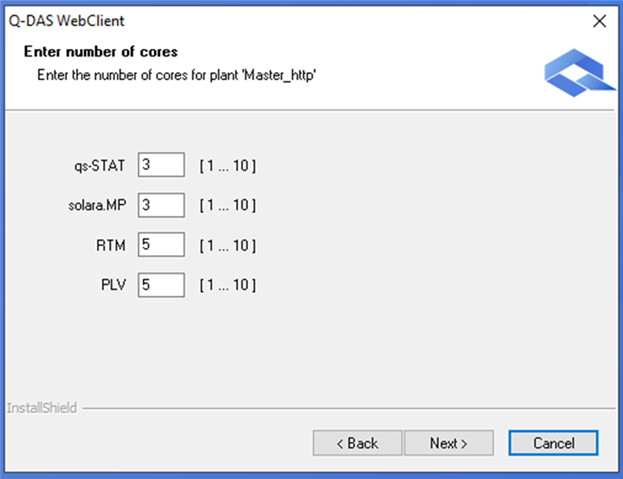
For each plant you will select number of cores in IIS.
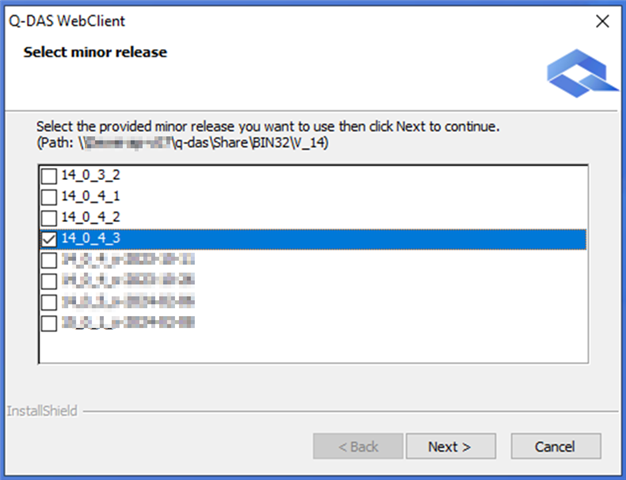
Select the version of the software.
The installation will start.

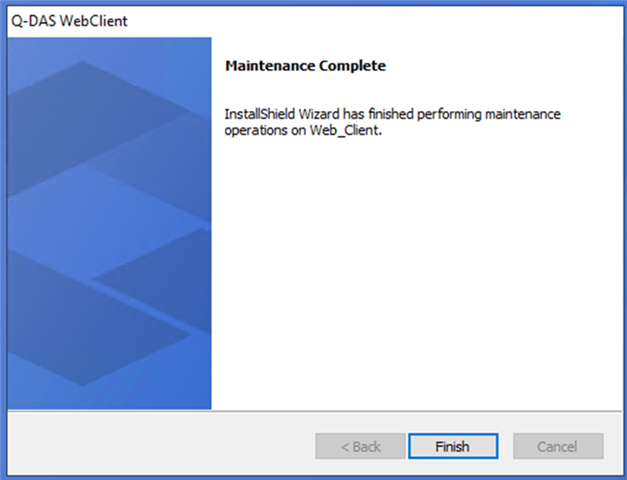
Installation is finished.
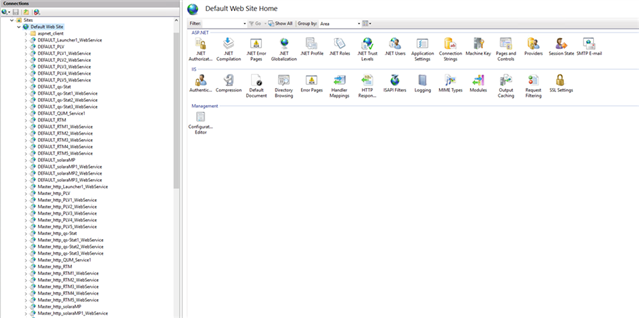
After successful installation you should see much more Web Sites in the IIS with the specified name of the plant(s).
Also, in the folder C/inetpub/wwweoot/Q-DAS_Web you can see the changes.

Don’t forget to configure your plants if needed (in case you choose the Default plant as a template, you don’t need to configure DB connections). Each plant needs its own connection strings to the databases. In other words, change the FireDAC.ini using a tool Database connect from each plant.
To run different plants in the web, use the same address as for the default one, with addition in the end of address: http(s):\\Server_name\Q-DAS_Web_Apps_*Plant_name*
The new patch can be tested on the test platform. You can download the patch from our download area.
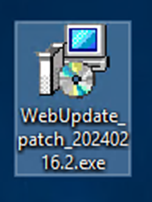
Once you start the patch, specify the plant that should be updated.
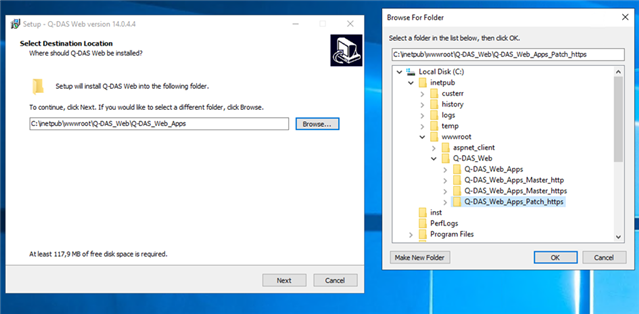
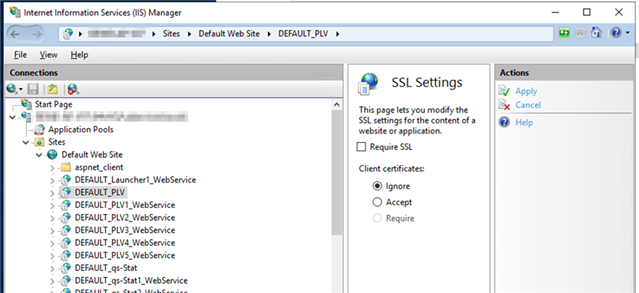
Note: If some of the plants are supposed to run with http and some with https, manual changes has to be done in the IIS. For the http use, unhook the “Require SSL” option in “SSL Settings” in each of the plants Web Sites in the IIS.
